Battery is dying
Earlier this week, my MacBook Pro’s battery became so bad that I need to either buy a new laptop or fix the battery.
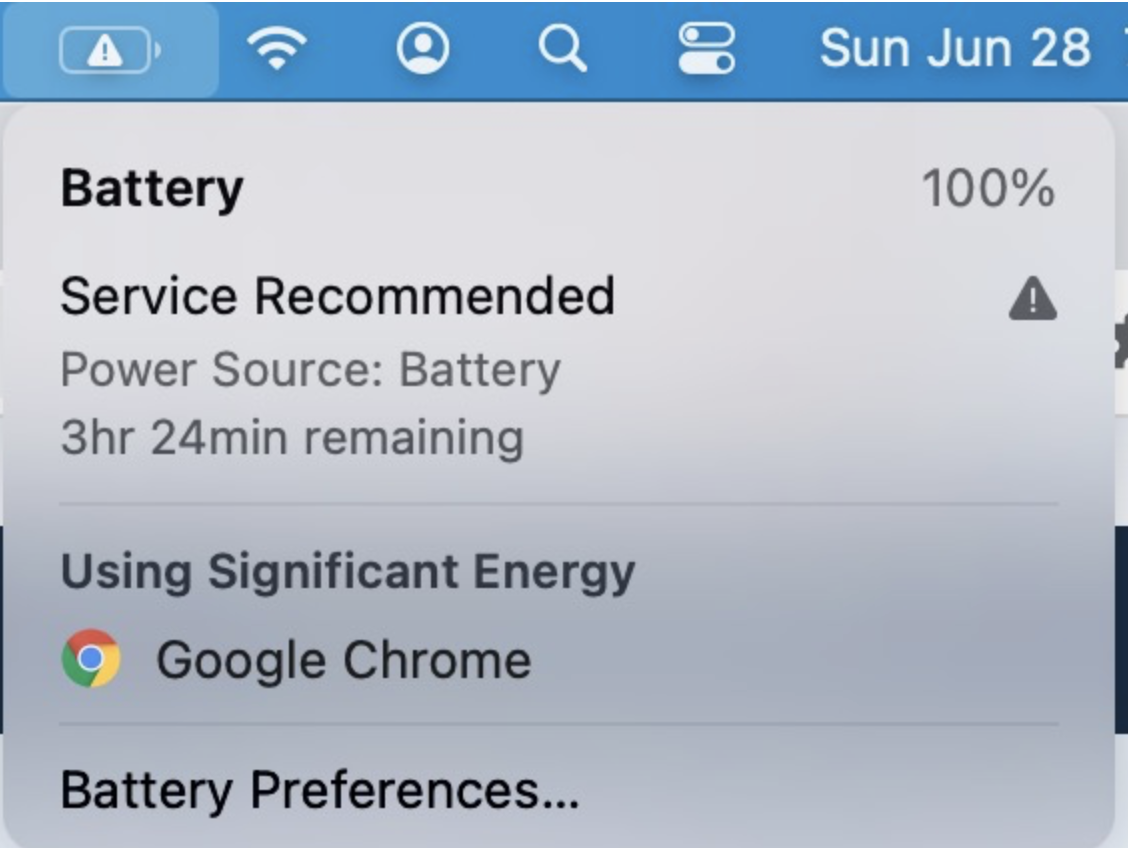
Here are the symptoms. If I disconnect the power cable for a few hours during sleeping and then use it even with power connected, the battery will drop to below 10%. And then a “kernel_task” will occupy 100% CPU, making my laptop extremely slow and unusable until it restarts. This happened to me almost every day last week. After dinner, I usually connect the power to my work laptop, working a bit, shutdown and connected the power to my personal laptop. And the problem kicks in a few minutes. Sometimes it happens even my laptop is connected to power all the time (e.g. during weekends) but when I use power hungry apps for a while such as Chrome, Notion or Zoom.
Initially I thought it was some software issue but when I google “low battery high cpu” I found that it’s related to bad battery.
I know the battery has issues. A few months ago I noticed “Service Recommended” displayed in the battery menu. I googled and found this great guide from ifixit. The total cost is about AUD $200, which is not cheap by itself but much cheaper compared with letting Apple fix it or buying a new laptop . But at that time my laptop was working fine and I was not sure if it’s worth to spend the money on my old laptop to extend its life. I was looking forward to own one of the new M2 laptops.
Deciding to replace battery
Fast-forward to last week, the situation got so bad that I believe my laptop would die anytime. So I backed up my laptop using Time Machine and start to look for a new laptop. The thing is I don’t want to spend AUD $2000 on M2 MacBook Air knowing that M3 MacBook Air is on the corner. In fact, my laptop can meet all my requirements and I don’t really need a new laptop. And our budget is quite tight at the moment. So I decided to spend a tenth of the money to replace the battery and extend my laptop’s life.
I ended up buying a replacement battery from Battery Mate.
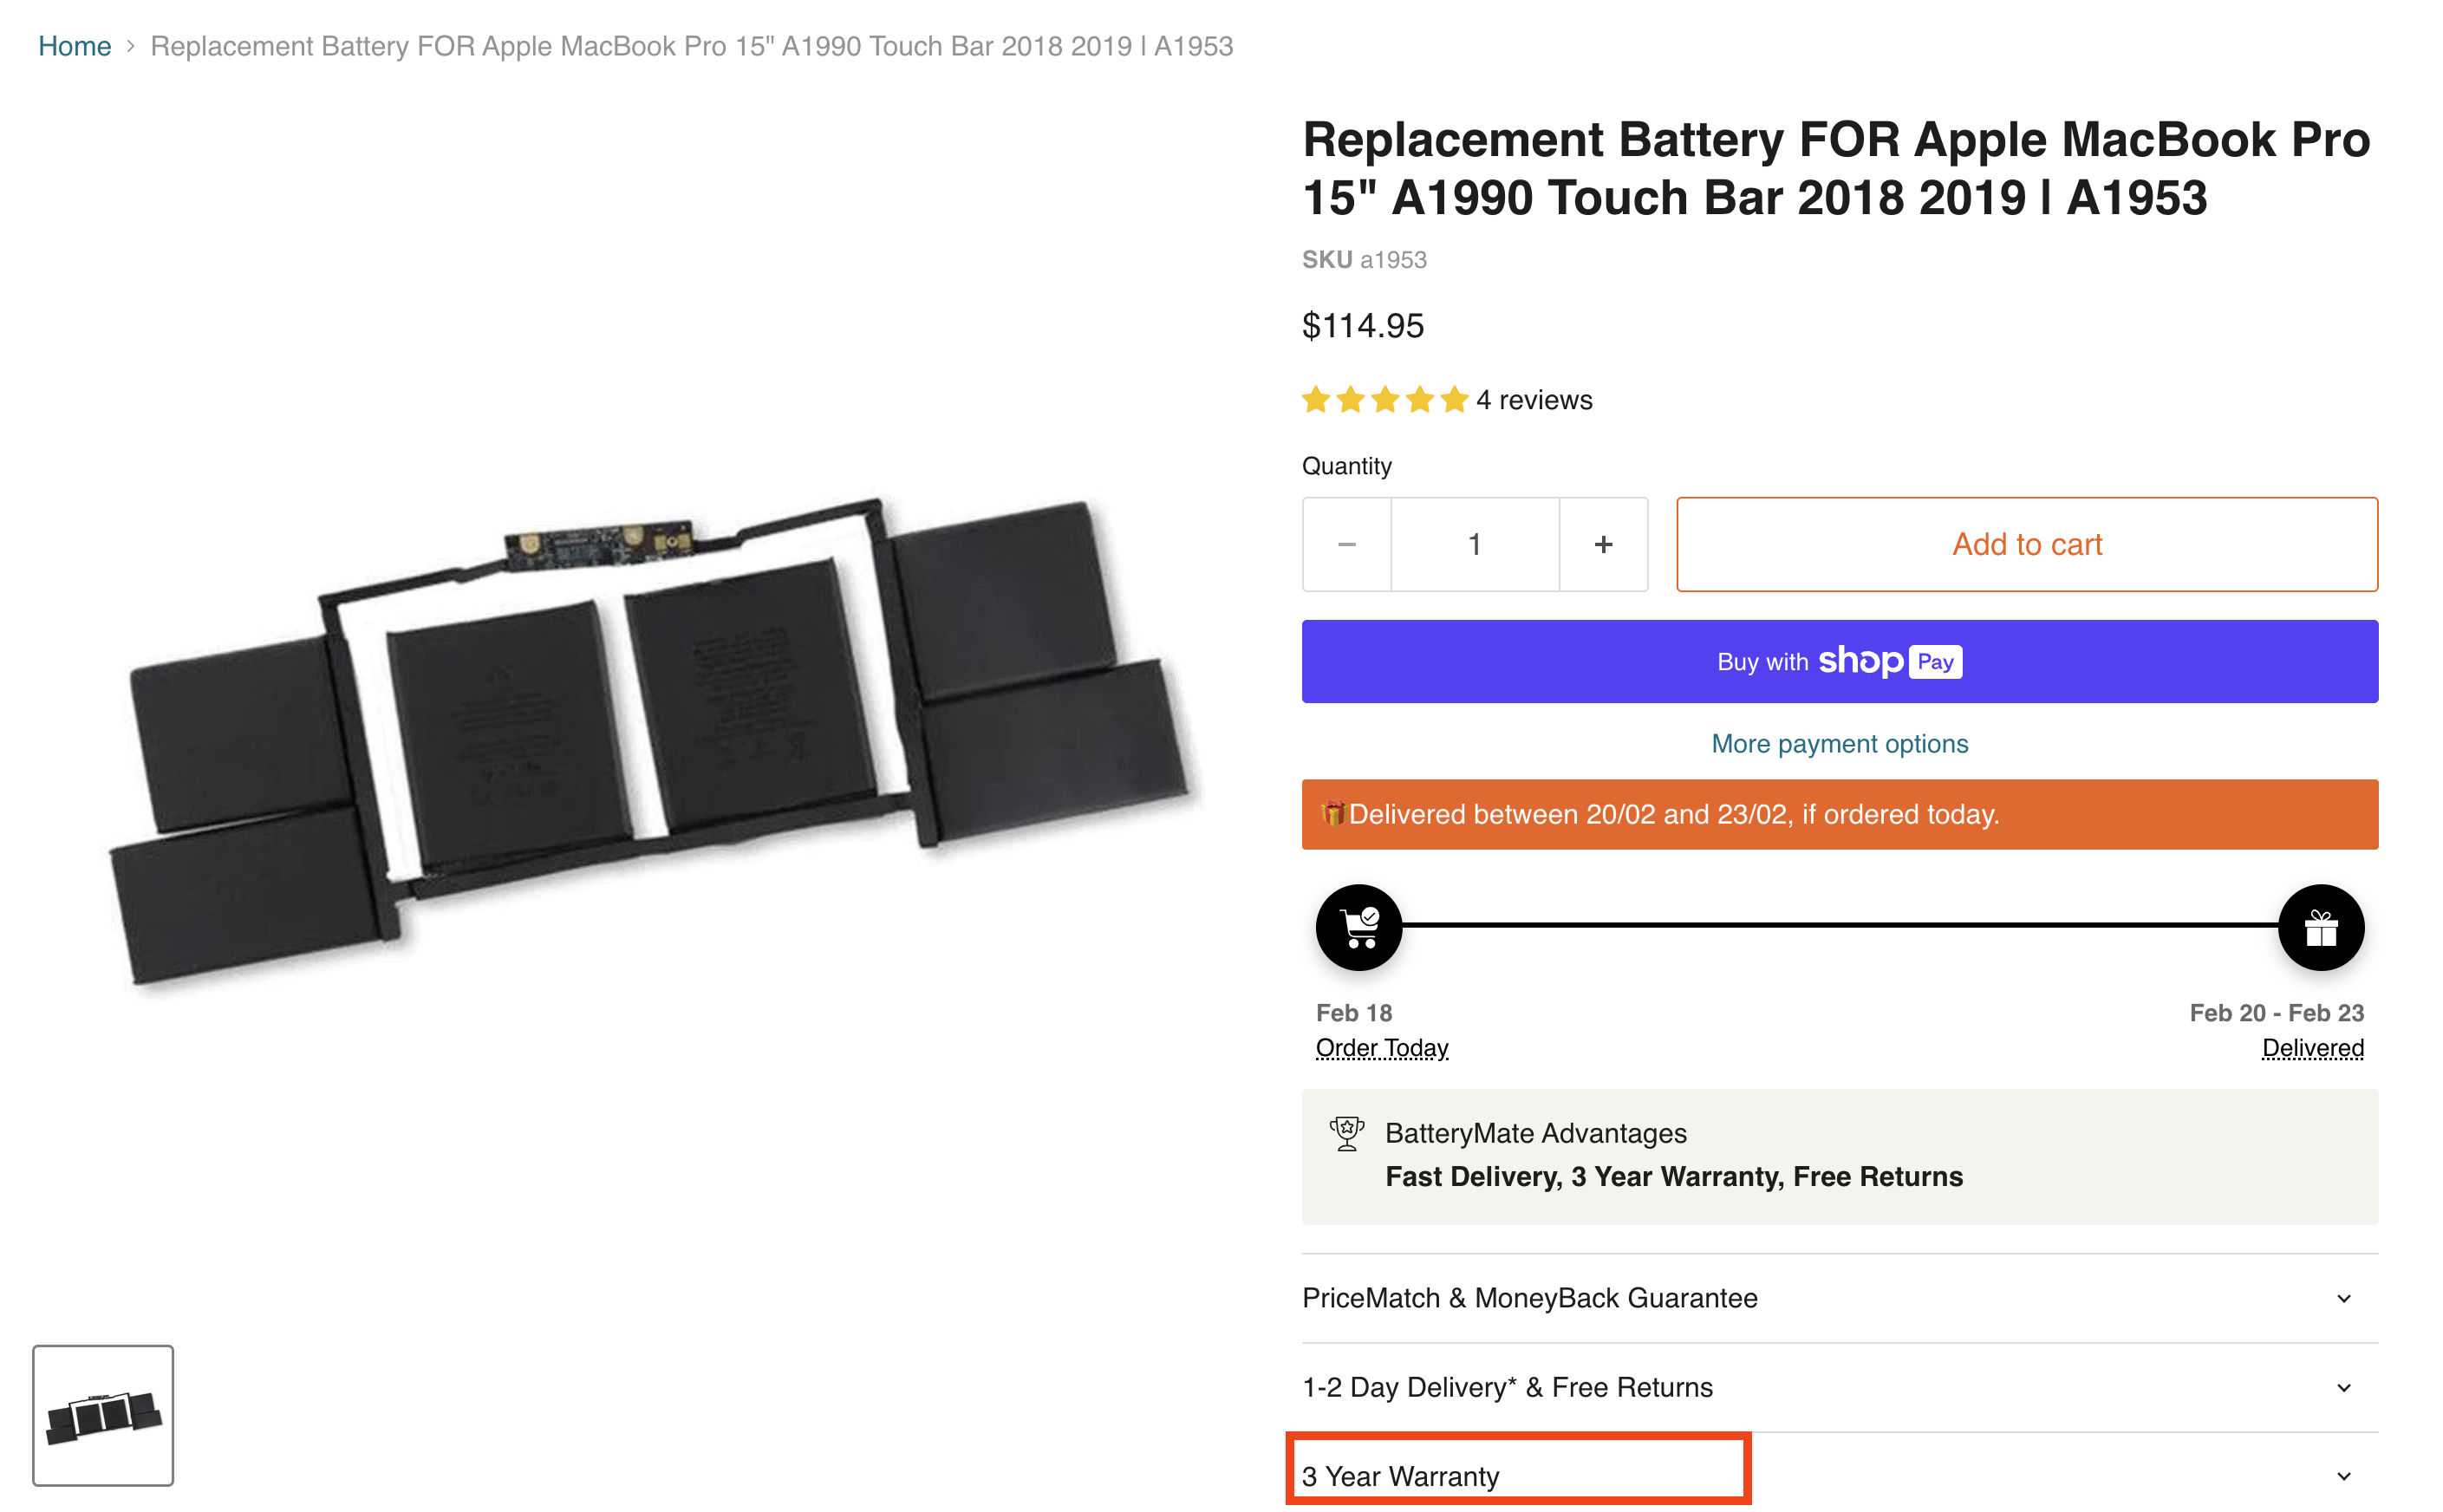
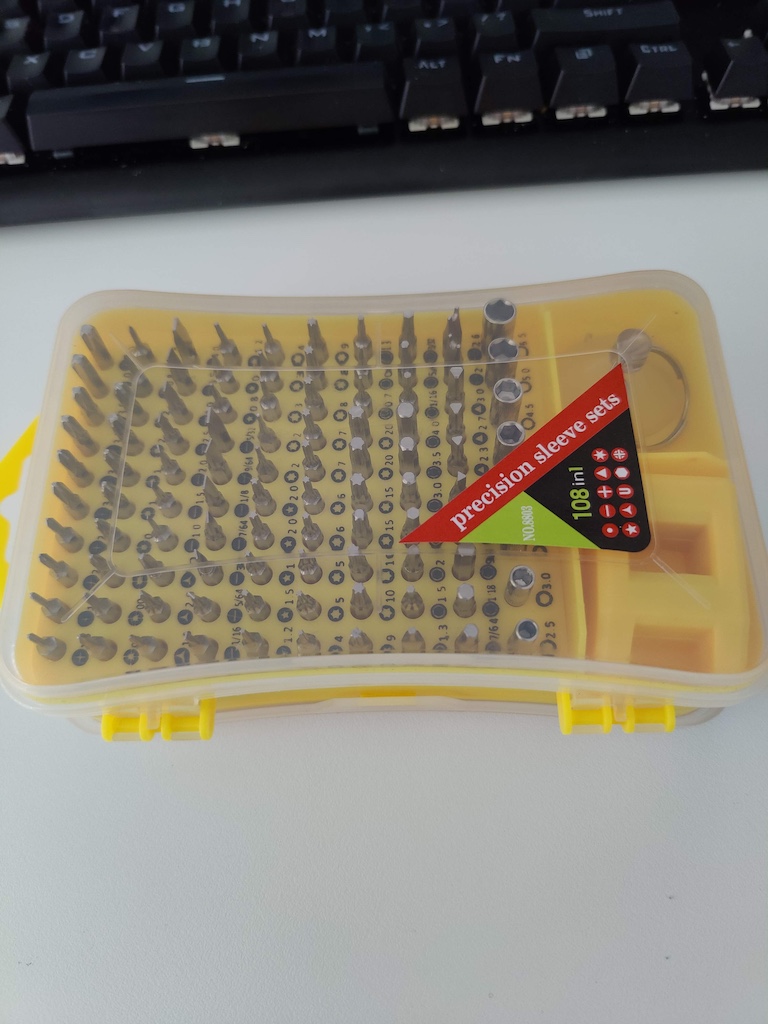
It’s even cheaper than ifixit and offer free shipping and most importantly it has 3-year warranty! It doesn’t include the tool kit like the ifixit one but I had an old kit that my wife bought for me a few years ago so I thought it should be OK. It turns out I was correct.
Doing the work
I placed the order on Wednesday evening and received on Friday. I started working on it after dinner. The guide is super detailed so I just followed it. A few additional notes
- As it says in the guide, you need great force to remove the bottom cover
- I don’t have a magnetic project mat so whenever I remove some screws or parts, I place them in the order I remove them. This is very important because when you re-assemble the parts, you need to follow the guide and the “parts trail” reversely to put them back.
- The trick to unlock the ZIF connector is not to “push” horizontally but to “pry up”
- I didn’t use a hair dryer or iOpener or heat gun. All the adhesive (except the one under battery. More on that later) seems to be quite weak (due to aging?) and it was easy to peel them off.
Then I hit the wall when it says to remove the battery using adhesive remover because I don’t have that at home. I learned that the adhesive remover is basically acetone and there’re many products with all sorts of names that can do the job. I decided to call it a day and buy the remover the next day and carry on.
Continue the next day
The next morning I went to Bunnings and bought one “Goof Off”. I also bought one can of compressed air duster as I noticed the fans in the heat sink are full of dust and I want to clean it.
After I got the adhesive remover, I applied them as instructed and after waiting for a few minutes I started to use a old plastic card to remove the battery. It was not an easy job. I think the acetone didn’t cut through the adhesive and it was the brute force that really separate it battery from the metal. I don’t know if it was my battery glued too good for the acetone to penetrate or I didn’t do it correctly. For the 2 center ones, I used dental floss first as the gap is too narrow for the plastic card to insert. The dental floss (Oral-B) is not very strong for this job and for each one it broke after getting to the middle part. But that’s enough for the card to be inserted and finish the rest of it.
After I peeled off the remaining tapes on the chassis, I tried to use acetone to remove the remaining glue. It was not very easy: whenever I tried to wipe the dissolved stuff out, some fibre from the cloth will be glued. I don’t think it’ll affect the stickiness of the new battery so I just left it that way.
After that things are much easier: putting the new battery in and follow the guide in reverse order. I also cleaned up a lot of dust from the fan and gaps between the chassis and the logic board.
After about total 5 hours of work, I turned on my laptop with new battery inside. The screen didn’t light up at first and my heart skipped a few beats. Then after 1 minute or so I saw the screen flashed a battery sign with 82% charged and then the big bang of the Apple start up sound and I know I did it.
Last words
I’m writing this blog now on my laptop and so far so good. But a few things that still bother me. One is that it seems the battery doesn’t hold very long. It only lasts about 2 hours of normal usage such as light web browsing. I remember when I bought my laptop the battery can easily last 6 hours. The other thing is the laptop doesn’t go to sleep but shutdown immediately if battery is drained. I tried calibration and resetting SMC as suggested at the end of the guide but it doesn’t help. It might be the battery issue or software issue but neither one is blocker as I only use it with power connected. I’m happy as long as I can squeeze another year out of it and then I’ll buy a new one.